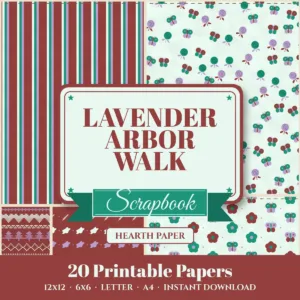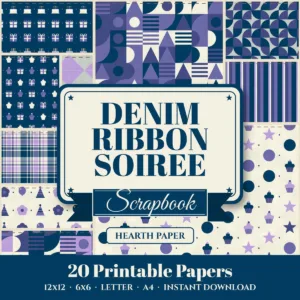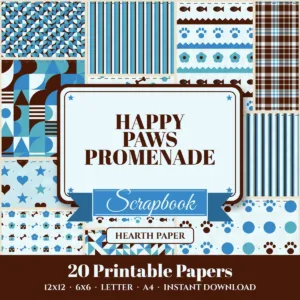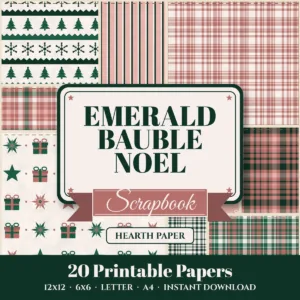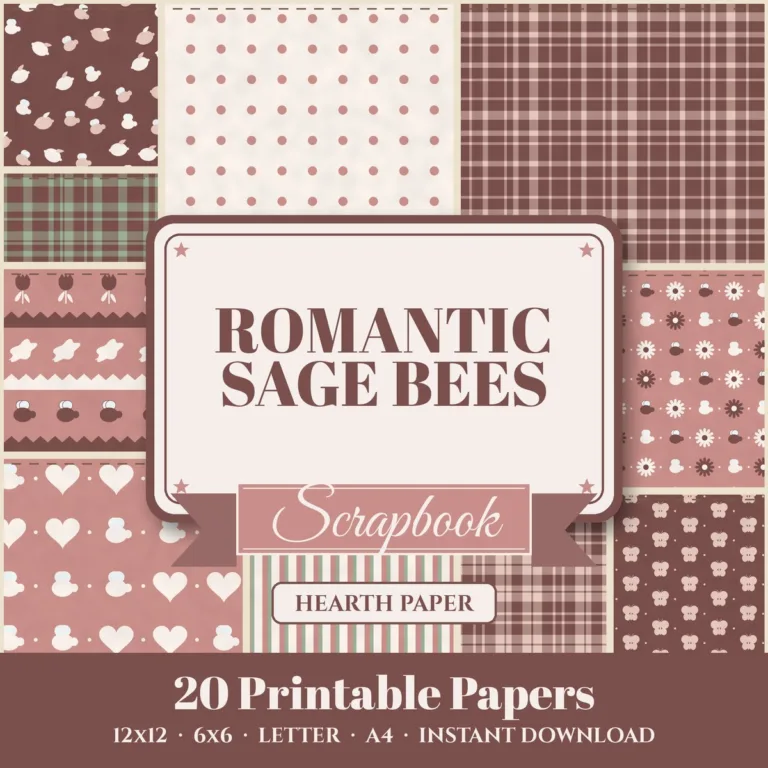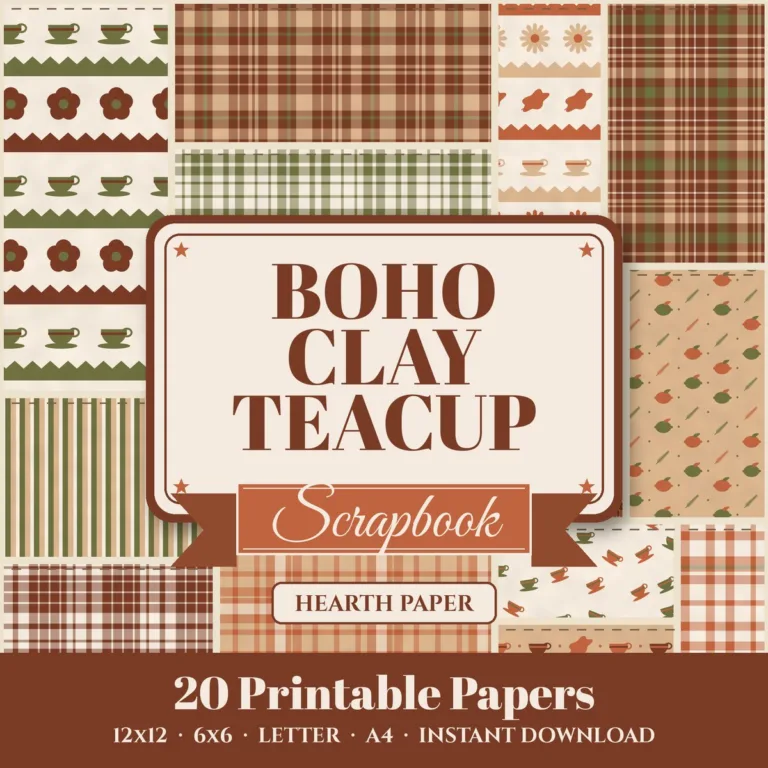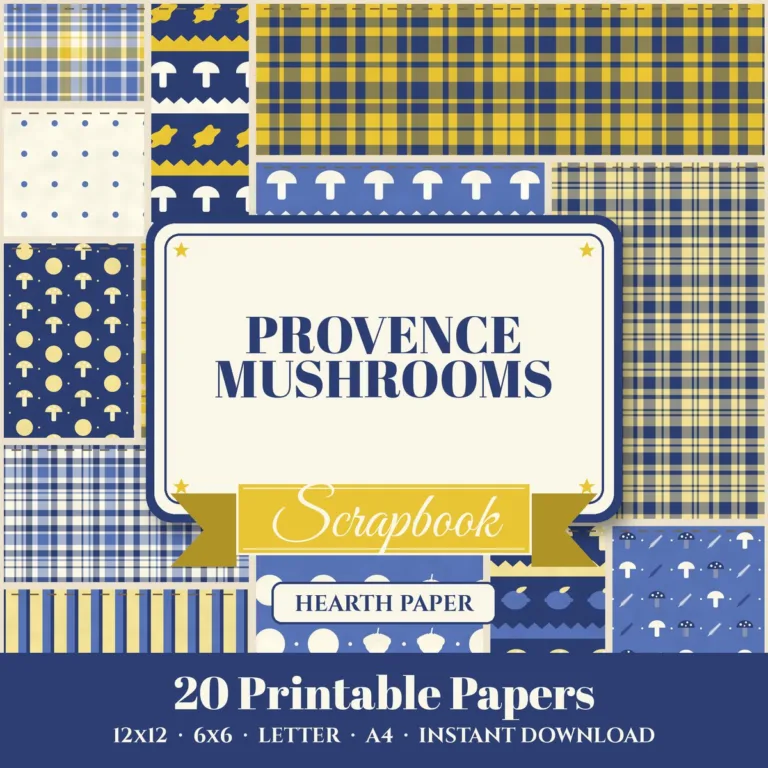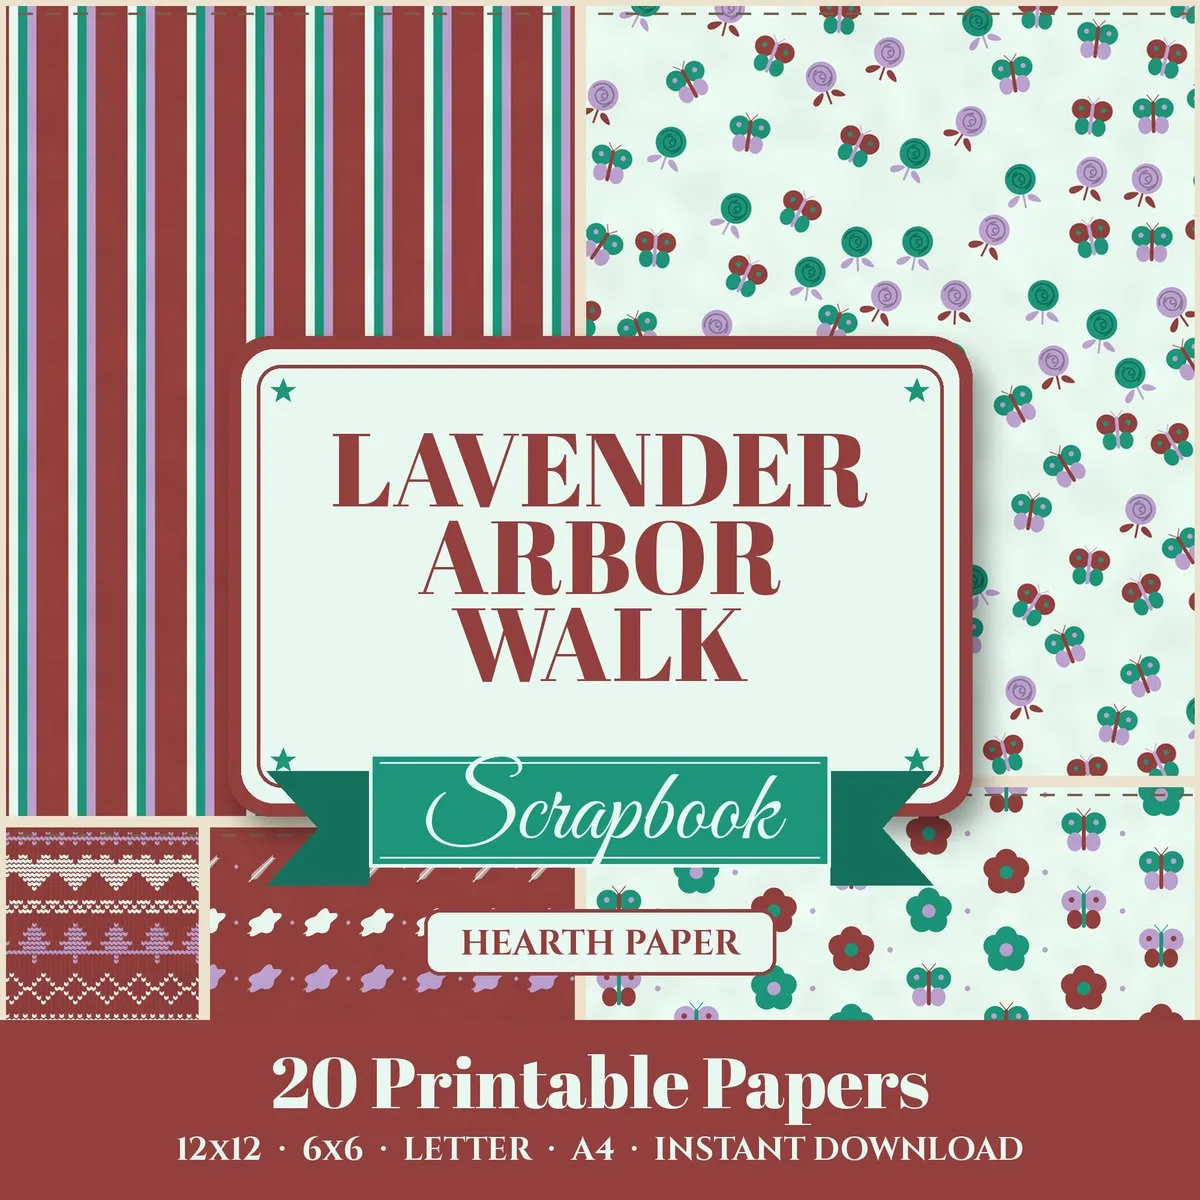
A cutting machine turns digital paper into stickers, tags, shapes and layered pieces with clean edges. With Cricut there are two ways to do it: let the machine print and cut in one workflow with Print Then Cut, or print sheets yourself and cut them on the mat like any other paper. Both work with our packs.
Method 1: Print Then Cut
Print Then Cut prints your design with registration marks around it, then the machine reads those marks and cuts exactly around each shape. It is the way to make patterned stickers, round tags and shaped labels.
- Upload the paper. In Design Space, click Upload, choose one of the 12 x 12 JPG files and upload it as a pattern or as a flat image.
- Option A, pattern fill: uploaded as a pattern, the paper can fill any shape. Add a shape, set its operation to Print Then Cut with Pattern, and pick your paper. You can scale and rotate the pattern inside the shape.
- Option B, image: uploaded as an image, place it on the canvas, add a shape on top, select both and use Slice or Attach/Flatten so the machine knows where to cut.
- Size it. Print Then Cut has a maximum printable area that depends on your machine and sheet size. Cricut’s help center lists the limits for each machine and paper size, and Design Space will warn you if a design is too big.
- Make it. Send it to your home printer (turn on “Add bleed” for clean edges), place the printed sheet on the mat as shown, and the machine scans the marks and cuts.
Use matte paper or matte sticker paper. Glossy surfaces can confuse the sensor that reads the registration marks.
Method 2: print the sheet, then cut on the mat
For die-cut style projects, such as card layers, flowers, banners or boxes, you do not need Print Then Cut at all.
- Print the Letter or A4 PDF on cardstock at actual size. See our printing guide.
- Put the printed sheet on a standard grip mat.
- In Design Space, make your cut file and choose a cardstock material setting. When the preview shows the mat, move your shapes over the area of the pattern you want.
- Cut as usual. Because the cut is not aligned to marks, choose busy all-over patterns where exact placement does not matter.
Project ideas
- Planner stickers and labels with Print Then Cut on matte sticker paper.
- Round gift tags with a punched hole. See more in small paper projects.
- Party banners: pennant shapes cut from two coordinating papers. Ideas in our birthday party guide.
- Card layers and shaped card fronts cut from 65 lb cardstock prints.
- Paper flowers and ornaments from Christmas packs.
Licensing for Cricut makers
Making things for yourself, family and friends is covered by our Personal license. Selling what you cut is covered too: up to 500 physical items per design with Personal, unlimited with Commercial. Selling the cut file or the printable sheet itself as a digital download needs a different license, explained in can you sell crafts made with digital paper.